
Who doesn’t love olives? Actually I know some people who don’t but I can’t understand that at all. When I was growing up, we used to count them out on to everyone’s plate when serving up salad with dinner, to make sure no-one got more than their fair share. A sad but true story.
A happier story is that not only are olives delicious, but they’re also really good for you, being high in healthy fats as well as a multitude of vitamins and minerals, not to mention anti-oxidants. For more on their health benefits, see here, here and here, just for starters.
The thing with olives though is that they’re very more-ish and a bottle really doesn’t last very long, plus they’re expensive (here in South Africa anyway). So years ago when a friend told me she could get fresh olives direct from an olive farm, I jumped at the chance to make my own and ordered 5kg.
Since then, I’ve made a batch every year I’ve been able to get my hands on some, which sadly hasn’t been every year but certainly many of them. Those years I enjoy eating them till they’re coming out my ears and they also make great gifts to give away.
I must admit that now I’ve made them myself, I can totally see why they cost so much. The processing that goes into them is quite labour intensive. Having said that though, it’s spread out over several weeks so really isn’t too much of a mission, and in my opinion it’s totally worth it – although some might disagree.
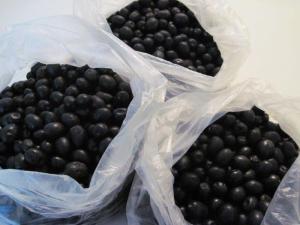
This year I actually found some fresh ones at Shoprite Checkers, which was a surprise. They weren’t in the best shape but I was fairly sure I could revive them so I bought 5kg. Since they take so long to make, it seems a waste to go through it all for a smaller quantity, but you can if you choose.
I decided to do most of them in the regular way using brine, and then also tried out a small batch of salt-cured olives, which are actually less work. See a future post for that process.
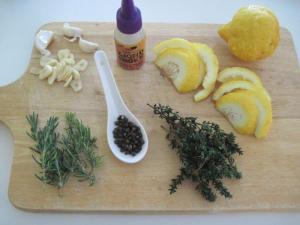
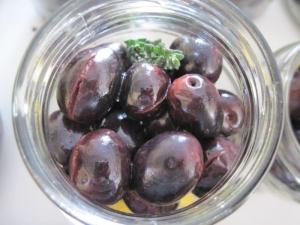
Flavour-wise, you can mix and match to your heart’s content. I always put a slice of lemon in each jar for flavour, along with some garlic and peppercorns. This year I added fresh rosemary to some bottles, fresh thyme to others and to some a mixture of both. I also experimented with adding about 8 drops of liquid smoke to a couple of bottles, which came out very well although the smoked flavour was extremely subtle – next time I may add a few more drops.
Olives go with so many things. Serve them straight up, with cheese and biscuits, on top of salad, sandwiches, pizzas or savoury tarts, made into pesto or olive jam, or added to a wide variety of dishes from pasta to rice to bread to chicken to fish to veggies (especially tomatoes). Just use your imagination and you can’t go wrong!
PRINT RECIPE (Print-friendly version)
Ingredients
- Up to 5kg fresh olives
- Lots of water
- ±700g of sea salt (NOT fine table salt)
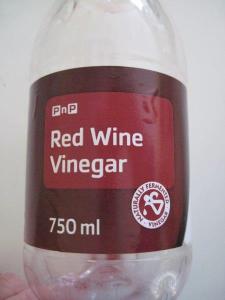
- 4 litres brown or red wine vinegar
- 3 – 4 lemons, washed well then sliced
Possible flavour options – any combo of:
- Garlic
- Rosemary
- Thyme
- Black peppercorns
- Oregano
- Liquid smoke (about 8-10 drops per medium-sized bottle)
Method
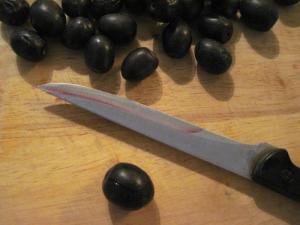
Slit each fresh olive once down to the pit to help release the bitter juices. Be sure to discard any that look a bit suspect (some wrinkling isn’t a problem). Depending on how many you’re making, this can take a while and some people don’t bother. I tried making a batch without slits once and they were definitely more bitter, so now I always slit them.
Soaking in water
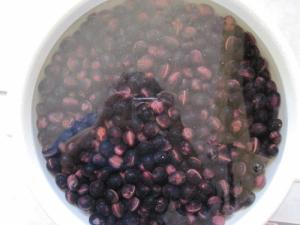
Put the olives into a large container or bucket with plenty of water. Cover it with a lid, if you have one for your container, or with clingfilm (or saran wrap, if you’re not in SA) or even a large piece of cardboard, just to stop dust and/or insects falling in.
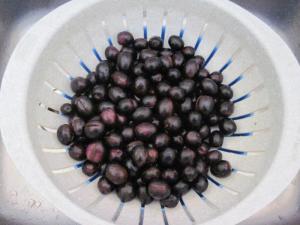
Soak them for 2 to 3 weeks (yes, that’s weeks), changing the water twice a day – I normally do it first thing in the morning and then again while I’m cooking supper. This may sound like a mission, but once you have a system, it literally takes less than 2 minutes a time. I use a colander and set out one or two other large bowls. I pour a bunch of olives into the colander over the sink, then decant those into a bowl.
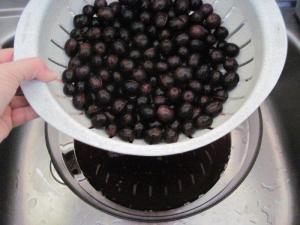
Then I pour another batch through the colander in the sink and decant into another bowl, before pouring the final batch through the colander.
Then chuck them all back into the large container and cover with water once more. (For the first few days, the water might look a bit dirty after soaking as you are essentially washing the olives at the same time.)
After 2 weeks of changing the water twice a day, taste a couple of olives. If they are even slightly bitter, keep going another week or so. I prefer to leave them longer to make sure – this batch was soaked for 3 weeks. Once all the bitterness is gone, you’re ready to proceed.
Brining
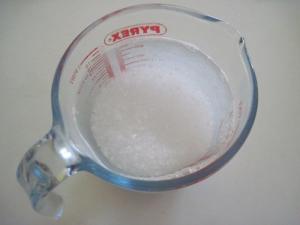
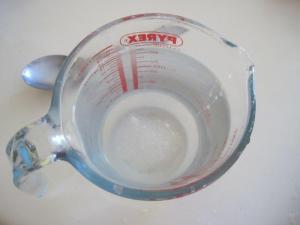
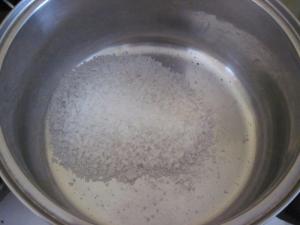
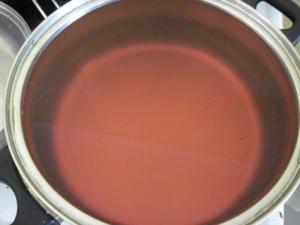
Make up a solution of 500g of sea salt (NOT fine table salt) to 5 litres of water. Just reduce proportionately if you have fewer olives. I usually boil some water and dissolve the salt in about half a litre, before adding more cold water.
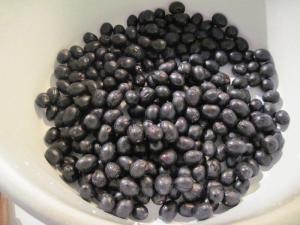
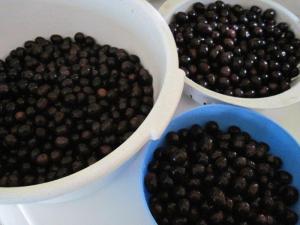
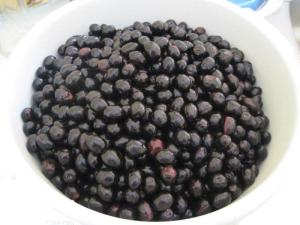
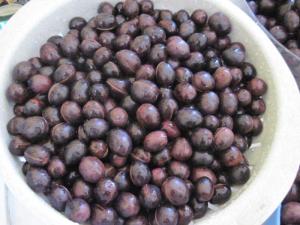
While that’s busy dissolving and cooling, drain the last of the fresh water from the olives and decant them temporarily into big bowls. See how nice and plump they are now!
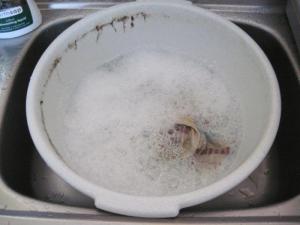
Now give the large container a good wash.
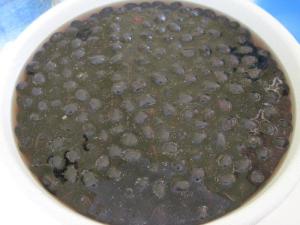
Once it’s clean, return the olives to the container and add your cooled brine, making sure the olives are as covered as possible (they tend to float a bit in the salty water).
Leave them in the same salt water for 1 week without changing it (you may end up with a bit of scum on top – just skim it off). You can leave them longer but then they end up more salty than I personally like.
After the week, drain off the salt water and fill the container with fresh water again. Change this once an hour for 3 to 4 hours, to make sure the olives are well rinsed.
Soaking in vinegar
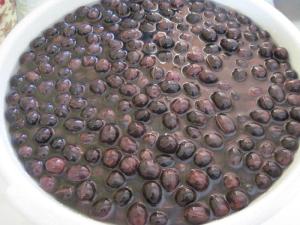
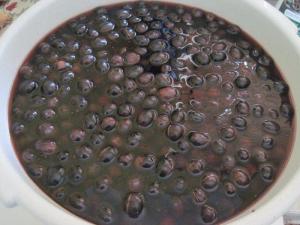
Cover the olives now with brown or red wine vinegar and leave them to soak for about 12 hours. I usually do this overnight if I know I’ll have time to bottle in the morning. You can leave them in the vinegar longer but I find they then up end too vinegary. Also some vinegars are stronger than others so I prefer to play it safe.
When the 12 hours is up, drain the vinegar off, keeping at least 250ml (1 cup) of it.
Leave the drained olives in the large container, open and exposed to air, for 3 to 4 hours before bottling them.
Bottling
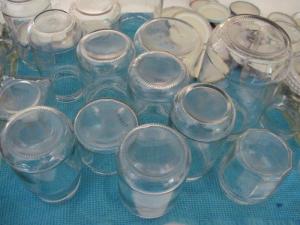
In the meantime, make sure you have a bunch of nice clean bottles. You can run them through a dishwasher, boil them or soak them in hot water with bleach for an hour or so. If you haven’t put them through a dishwasher, give them a proper wash with washing liquid after boiling or bleaching, then rinse well before allowing them to dry.
While the olives are breathing, make up a new brine solution. Dissolve 200g of sea salt (again, not fine table salt) in some boiling water, then add more cold water to make up a total of 4,5 litres of brine.
Add the saved 250ml (1 cup) of vinegar to this water.
Now prepare your choice of flavourings like garlic, herbs, peppercorns and/or liquid smoke, along with a slice or two of lemon for each jar.
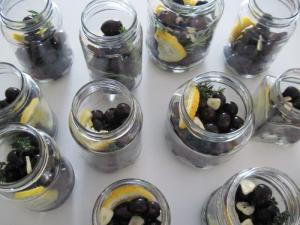
Half fill each jar with olives, then add your chosen flavours.
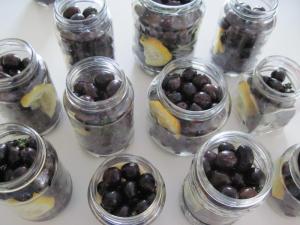
Top up each jar with more olives.
Pour 1T of sunflower oil into each medium-sized jar, a bit less for smaller ones and more for bigger ones.
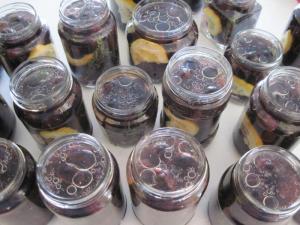
Fill the jars with the fresh brine solution so that all the olives are covered.
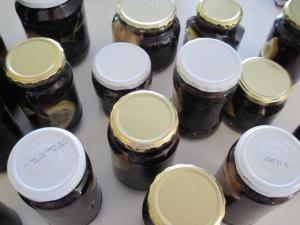
Then seal the lids.
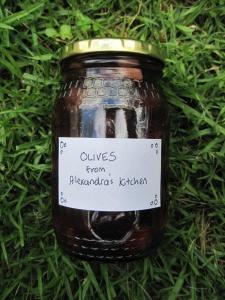
Wipe down and dry the jars before labelling them.
Store them in a cool, dark place for a year or more (although it’s extremely doubtful they’ll last that long).
In theory you should leave them at least 1 week after bottling before you start eating them, but I generally start with a bottle right away. I mean, who can resist?!
PRINT RECIPE (Print-friendly version)
© Alexandra Lawrence and Inspired Nourishment, 2015
Brilliant, I have been “doing” olives for years, buying them from a farmer in Worcester. Have an aged recipe but wow just loved getting your take on ‘doing’ olives and what a diff using pure salt as opposed to table salt. So my 2014 batch are now all bottled with the various tweaks of herbs, garlic and pepper corns. Looking delicious. Thank you, thank you. I have decided that I am a Kalamata fan, Mission are fine but … DE
LikeLike
Hi Deirdre,
I’m glad you enjoyed my olive recipe – I always find it’s good to be able to compare with other recipes and then use the best from all of them. I’m totally with you on the Kalamatas and will always use them if I can get my hands on them. And yes, proper sea salt is the way to go – in my opinion, table salt is good for nothing more than soaking up red wine stains!
LikeLike
This is very cool!
LikeLike
And delicious too! I’m just finishing off the last bottle of last year’s batch, and starting to think about where to get olives for this year’s myself.
LikeLiked by 1 person
I love olives, and I used to see them sold in a local farmers market.
LikeLike
Lucky you – grab them while you can!
LikeLiked by 1 person
It is a very cool open market.
LikeLiked by 1 person
Pingback: Nasturtium Pizza Omelette | Inspired Nourishment